In this post, I will walk you through how you can set up a docker image for your React app. At the end you will have a docker image that can be built and run on any machine that has docker installed without setting up a special development environment.
Pre-requisites
You need to have docker installed on your machine to create a docker image.
Docker can be installed either through Docker Desktop or Docker Engine. In most cases, Docker Desktop is the way to go and you can install it following the instructions on the Docker Desktop page.
Before proceeding to the next step, make sure that you can run the docker command.
$ docker ps
CONTAINER ID   IMAGE     COMMAND   CREATED   STATUS    PORTS     NAMES
Note: On Linux, you usually have to run docker as root with sudo. This is because your user will not have access to the Docker service by default. You can optionally follow these instructions to run docker as a non-root user.
Creating a docker image
Create a Dockerfile
Create a new file named Dockerfile at the root of your react project and place the following code in it. (A Dockerfile does not have a file extension)
# syntax=docker/dockerfile:1
FROM node:18-alpine as builder
WORKDIR /home/node/app
COPY . .
RUN npm ci
RUN npm run build
FROM nginx:1.24-alpine as server
COPY /home/node/app/dist /usr/share/nginx/html
COPY nginx.conf /etc/nginx/conf.d/default.confIn a nutshell, this Dockerfile describes a multi-stage build where the builder stage creates a production build of the react app that is then hosted by an nginx container. Check out this post for a more in-depth look at this Dockerfile.
We need to provide a custom configuration to nginx so that it works properly with client-side routing. Place the following configuration into a file named nginx.conf alongside the Dockerfile.
server {
    listen       80;
    listen  [::]:80;

    location / {
        root   /usr/share/nginx/html;
        try_files $uri $uri/ /index.html;
    }
}
The key part of this nginx configuration is the try_files directive which tells nginx to use index.html for all the URLs.
Adjust build output folder
Depending on the build output folder of your project, you might have to change one of the COPY instructions in the Dockerfile. It currently expects the build output to be in the dist folder which is where create-vite places the production builds by default.
COPY /home/node/app/dist /usr/share/nginx/htmlIf you are using Create React App which places the production builds in the build folder by default, you can change the instruction like so.
- COPY /home/node/app/dist /usr/share/nginx/html
+ COPY /home/node/app/build /usr/share/nginx/htmlAdd .dockerignore
Add the following to a file named .dockerignore at the root of the project to prevent docker from copying the node_modules and the build output folder (dist). As in the previous step, adjust the build output folder according to your project.
node_modules
dist
Build the image
With the Dockerfile, .dockerignore and nginx.conf files placed at the root of the project, we can build the image with the following command at the same place
$ docker build -t react-app .You can replace react-app with any name you like but you will then have to use that name in all of the following commands. Don't miss the dot character at the end of the command that refers to the current directory.
Whenever you make changes to your React project, you need to build the image again for it to contain the latest changes.
Running the docker image
You can run the image that we built in the previous step with the following command
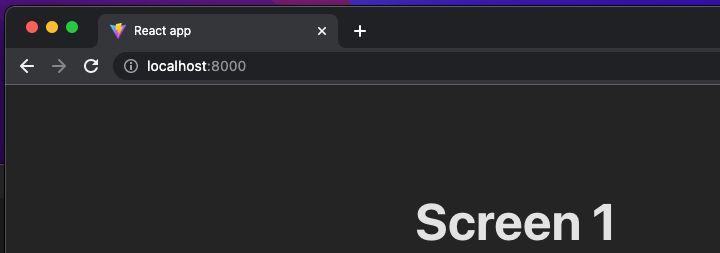
$ docker run -p "8000:80" react-appWith this command, we are asking Docker to start a container using the image of the given name and then map port 80 on that container to port 8000 on the host computer. Port 80 is the default port on which nginx serves content. Now you should be able to access your React app on http://localhost:8000.

Next steps
The biggest benefit of docker is being able to run applications without having to manually set up other packages and dependencies. Now if you have a copy of this dockerized project on another machine, you can use the same docker build and run command to start the React app without having to set up Node.js or a web server.
You can also ask Docker to build an image directly from a Github repo that has a Dockerfile in the root folder with the following command.
$ docker build -t react-app "<git-url>#<git-branch>"